← Back to all guides
Dot Coffee Table — Assembly guide

Step 1
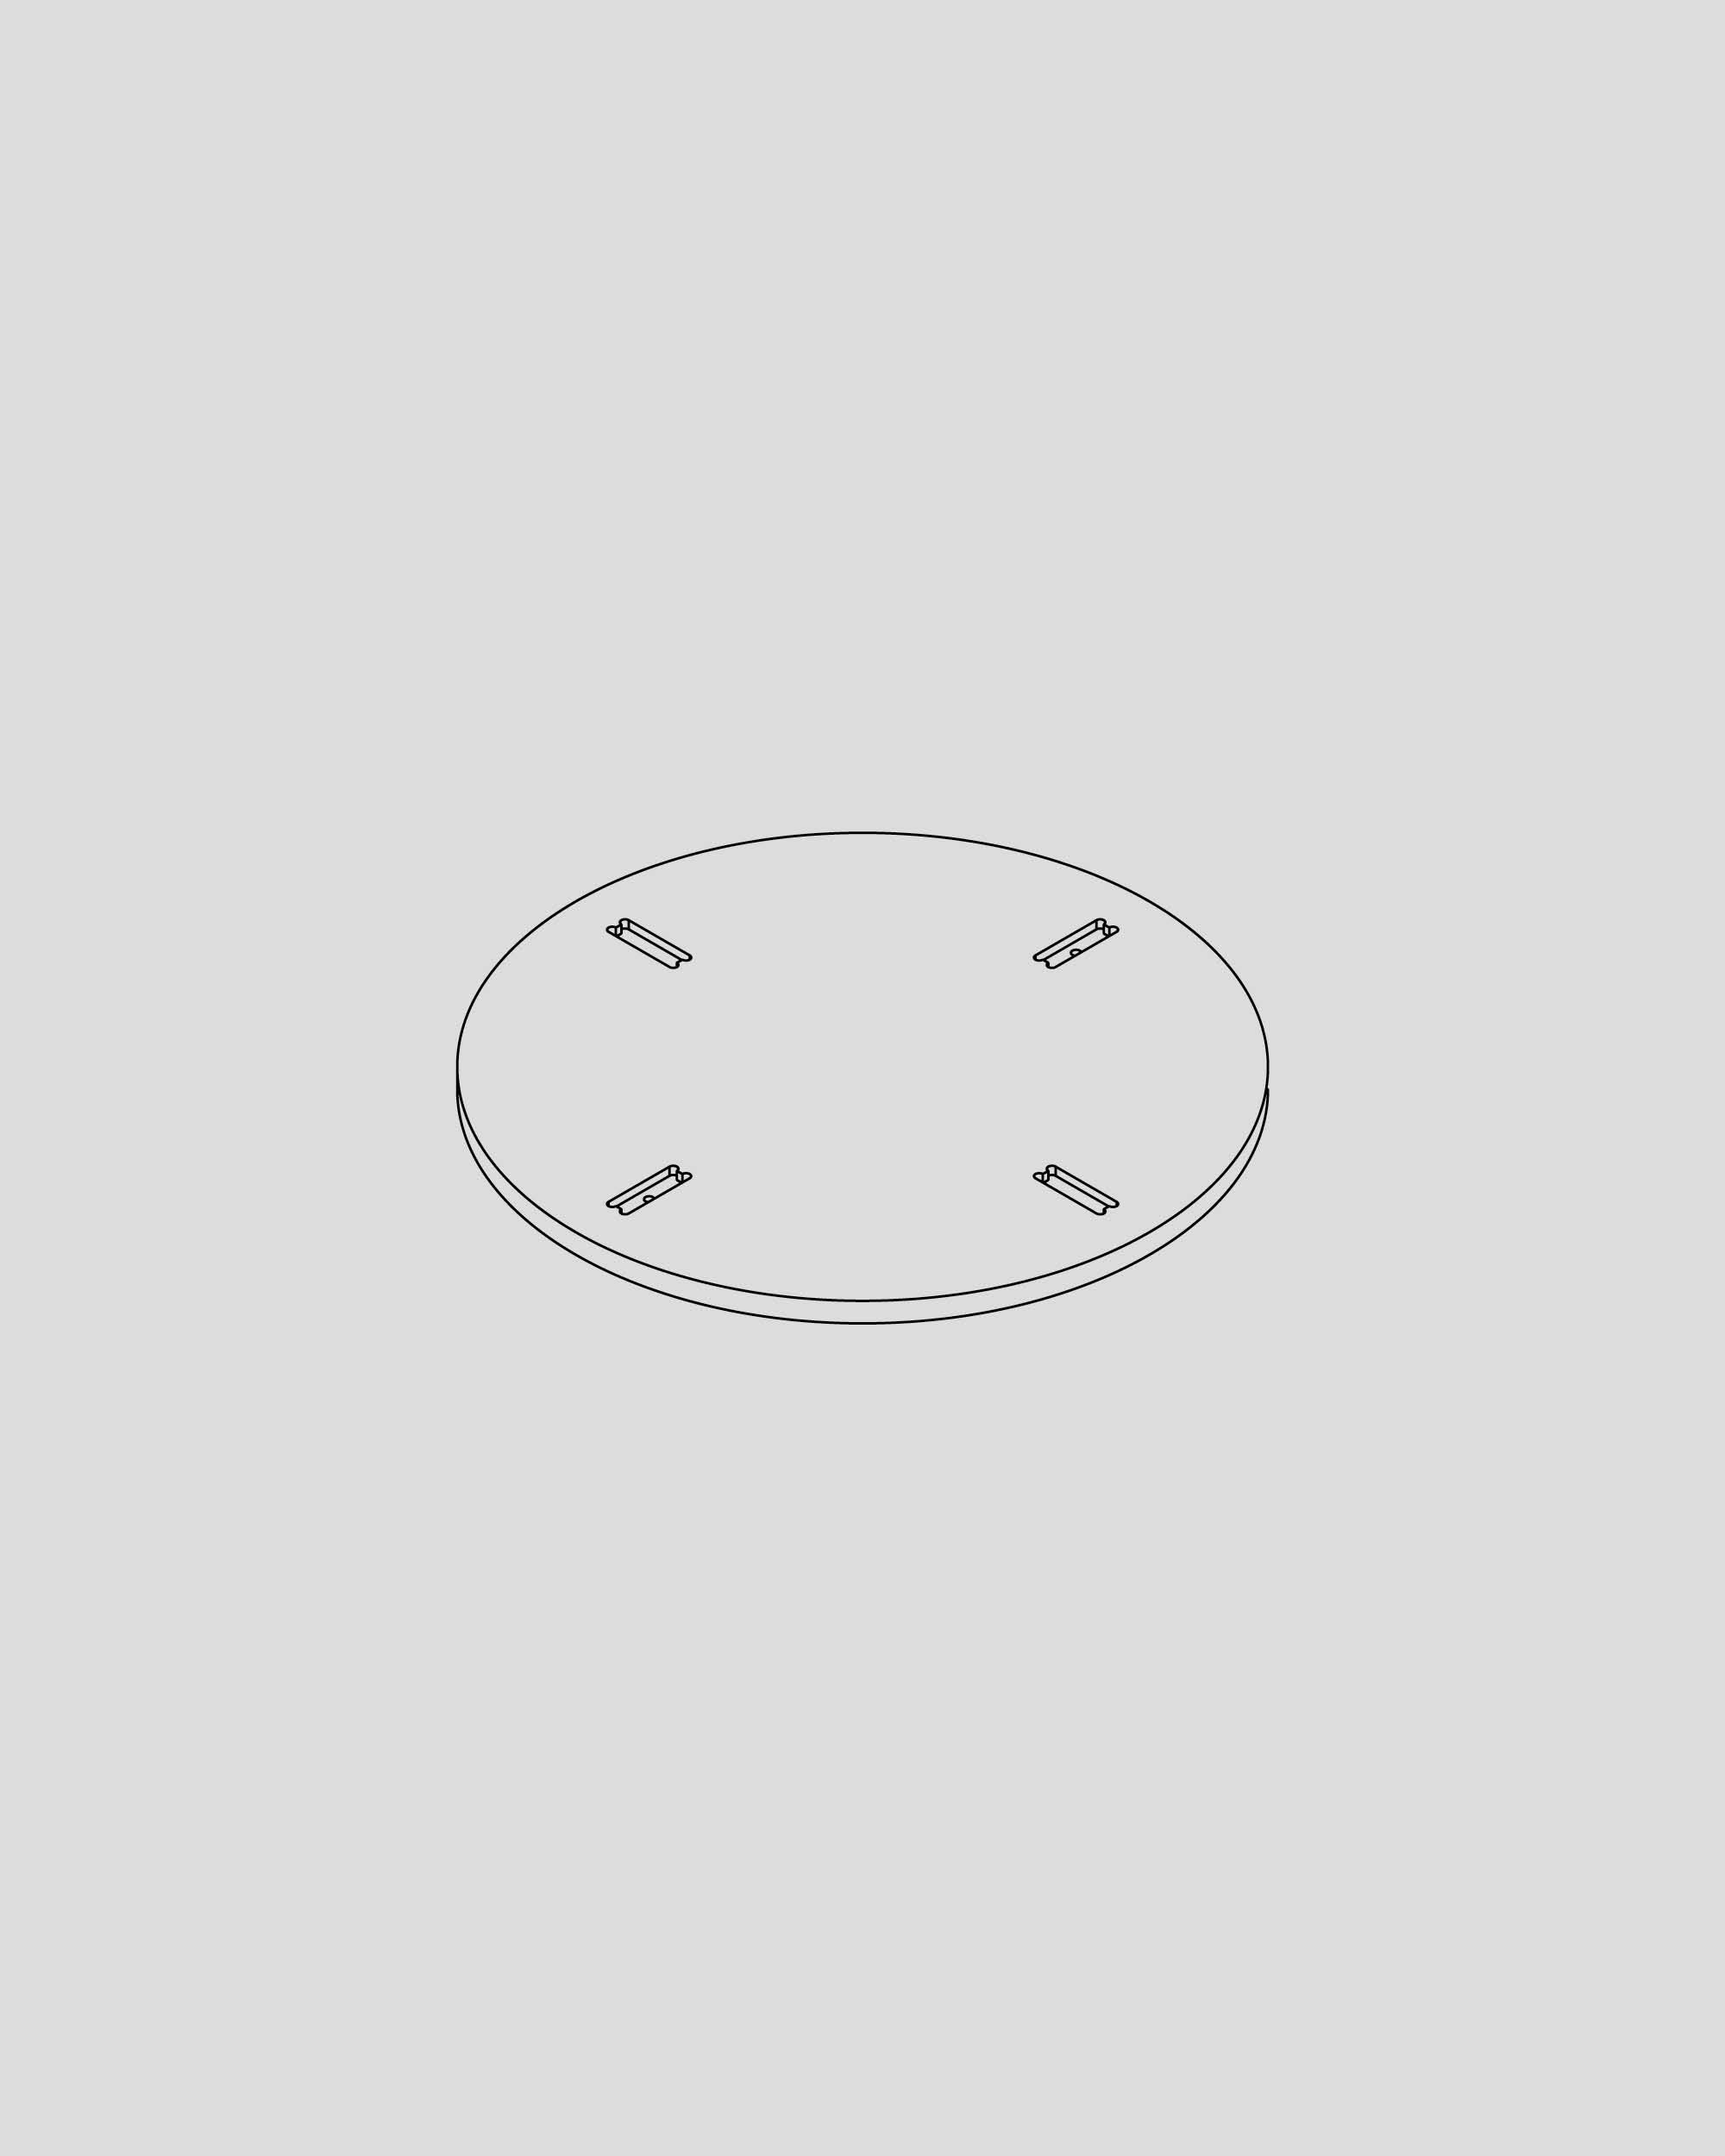
Lay the top on a flat and soft surface with the pockets facing upward.

Dot Coffee Table — Assembly guide

Step 1
Lay the top on a flat and soft surface with the pockets facing upward.

Step 2
Fit the first leg into the pockets without the drill holes going through the top.

Step 3
Fit the next leg into its corresponding pockets.

Step 4
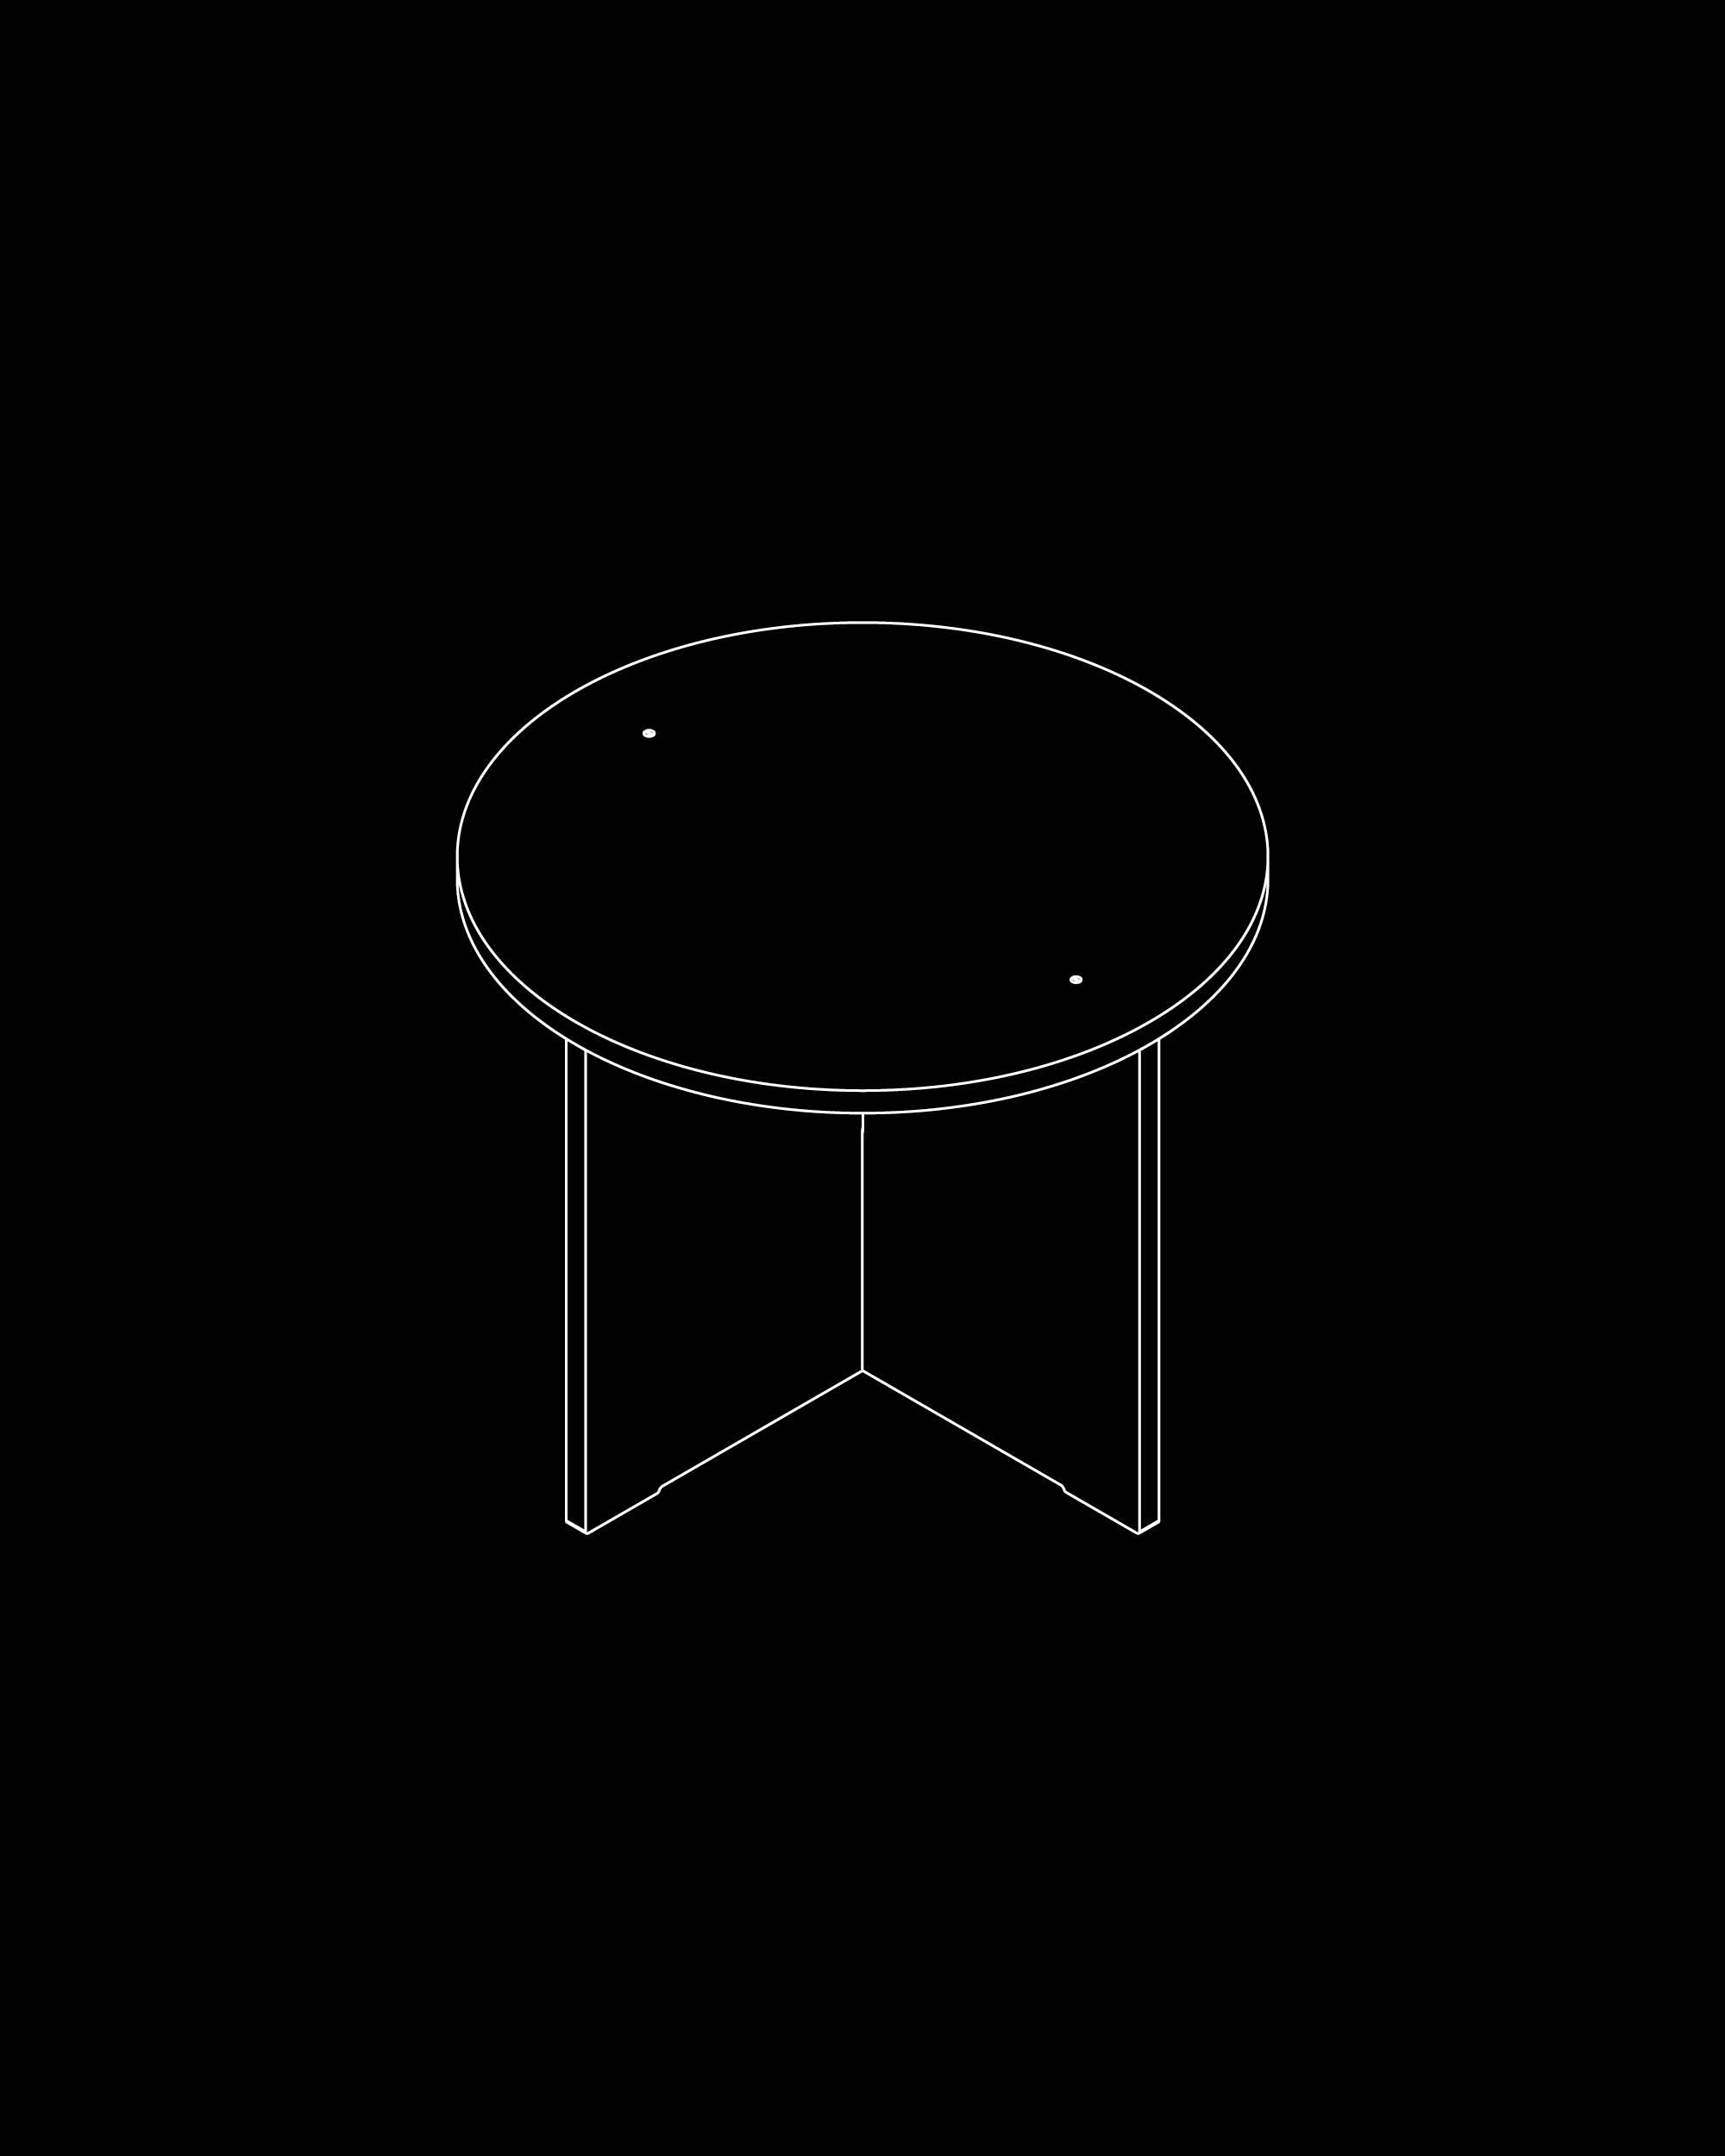
Make sure all pieces sits tight and flush with minimal to no gaps. Flip the table over so it stands on the floor.

Step 5
Drive in the screws using a non-electric flat-head screwdriver. Stop when the head is flush with the surface; avoid over-tightening.

Step 6
Finished